My traverse in a nutshell
| Type: | Self-supported (no porters), high-altitude, multi-day hike |
| Location: | Mount Kenya |
| Start: | Meru Bandas, Chogoria Gate (2980 m) |
| Finish: | Sirimon Gate (2650 m) |
| Distance: | 53 km |
| Hiking time: | 23 hr 21 min (including stops) over 4 consecutive days |
| Elevation gain: | 2870 m |
| Elevation loss: | 3180 m |
| Elevation range: | 2650–4790 m |
| Average day: | 13.2 km, 5 hr 50 min, 720 m gain |
| Average pace: | 2.3 km/hr (26 min/km) |
| Toughest day: | 16.6 km, 9 hr 57 min, 1570 m gain, 3510–4790 m (Day 2) |
| Backpack base weight: | 7.6 kg (excluding food and water) |
| Starting food weight: | 3 kg (no resupplies) |
| Difficulty: | Strenuous |
Traversing Mount Kenya
In 2025, on my 46th birthday, I summited Mount Kenya, Africa’s second-highest mountain after Kilimanjaro. I knew I’d return – not necessarily for another summit, but to explore more of the mountain.
Mount Kenya has a vast network of trails, valleys, and ridgelines, along with stunning rocky landscapes dotted with tarns (glacial lakes). A traverse felt like the best way to fully experience its diverse terrain.

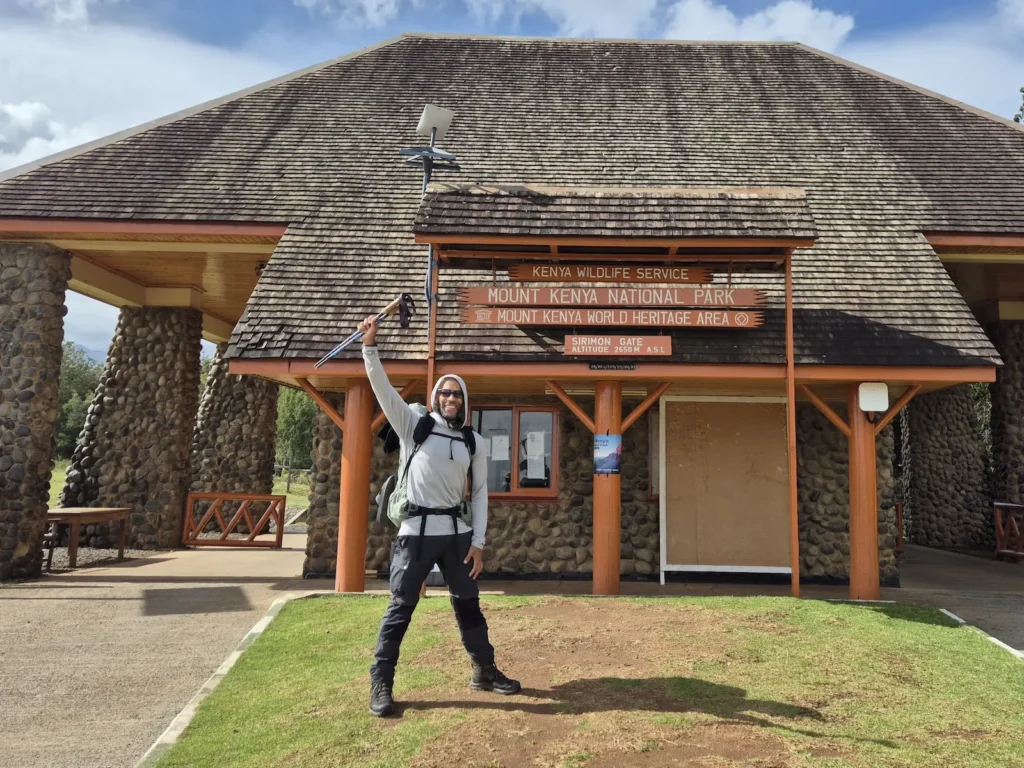
In March 2026, I returned for a four‑day, self‑supported trek. I began at Chogoria Gate, circled the central peaks, and passed through all four summit base camps before finishing at Sirimon Gate. The full route covered 53 km. It was a demanding hike, but a rewarding one.
This article covers:
Why I chose this route
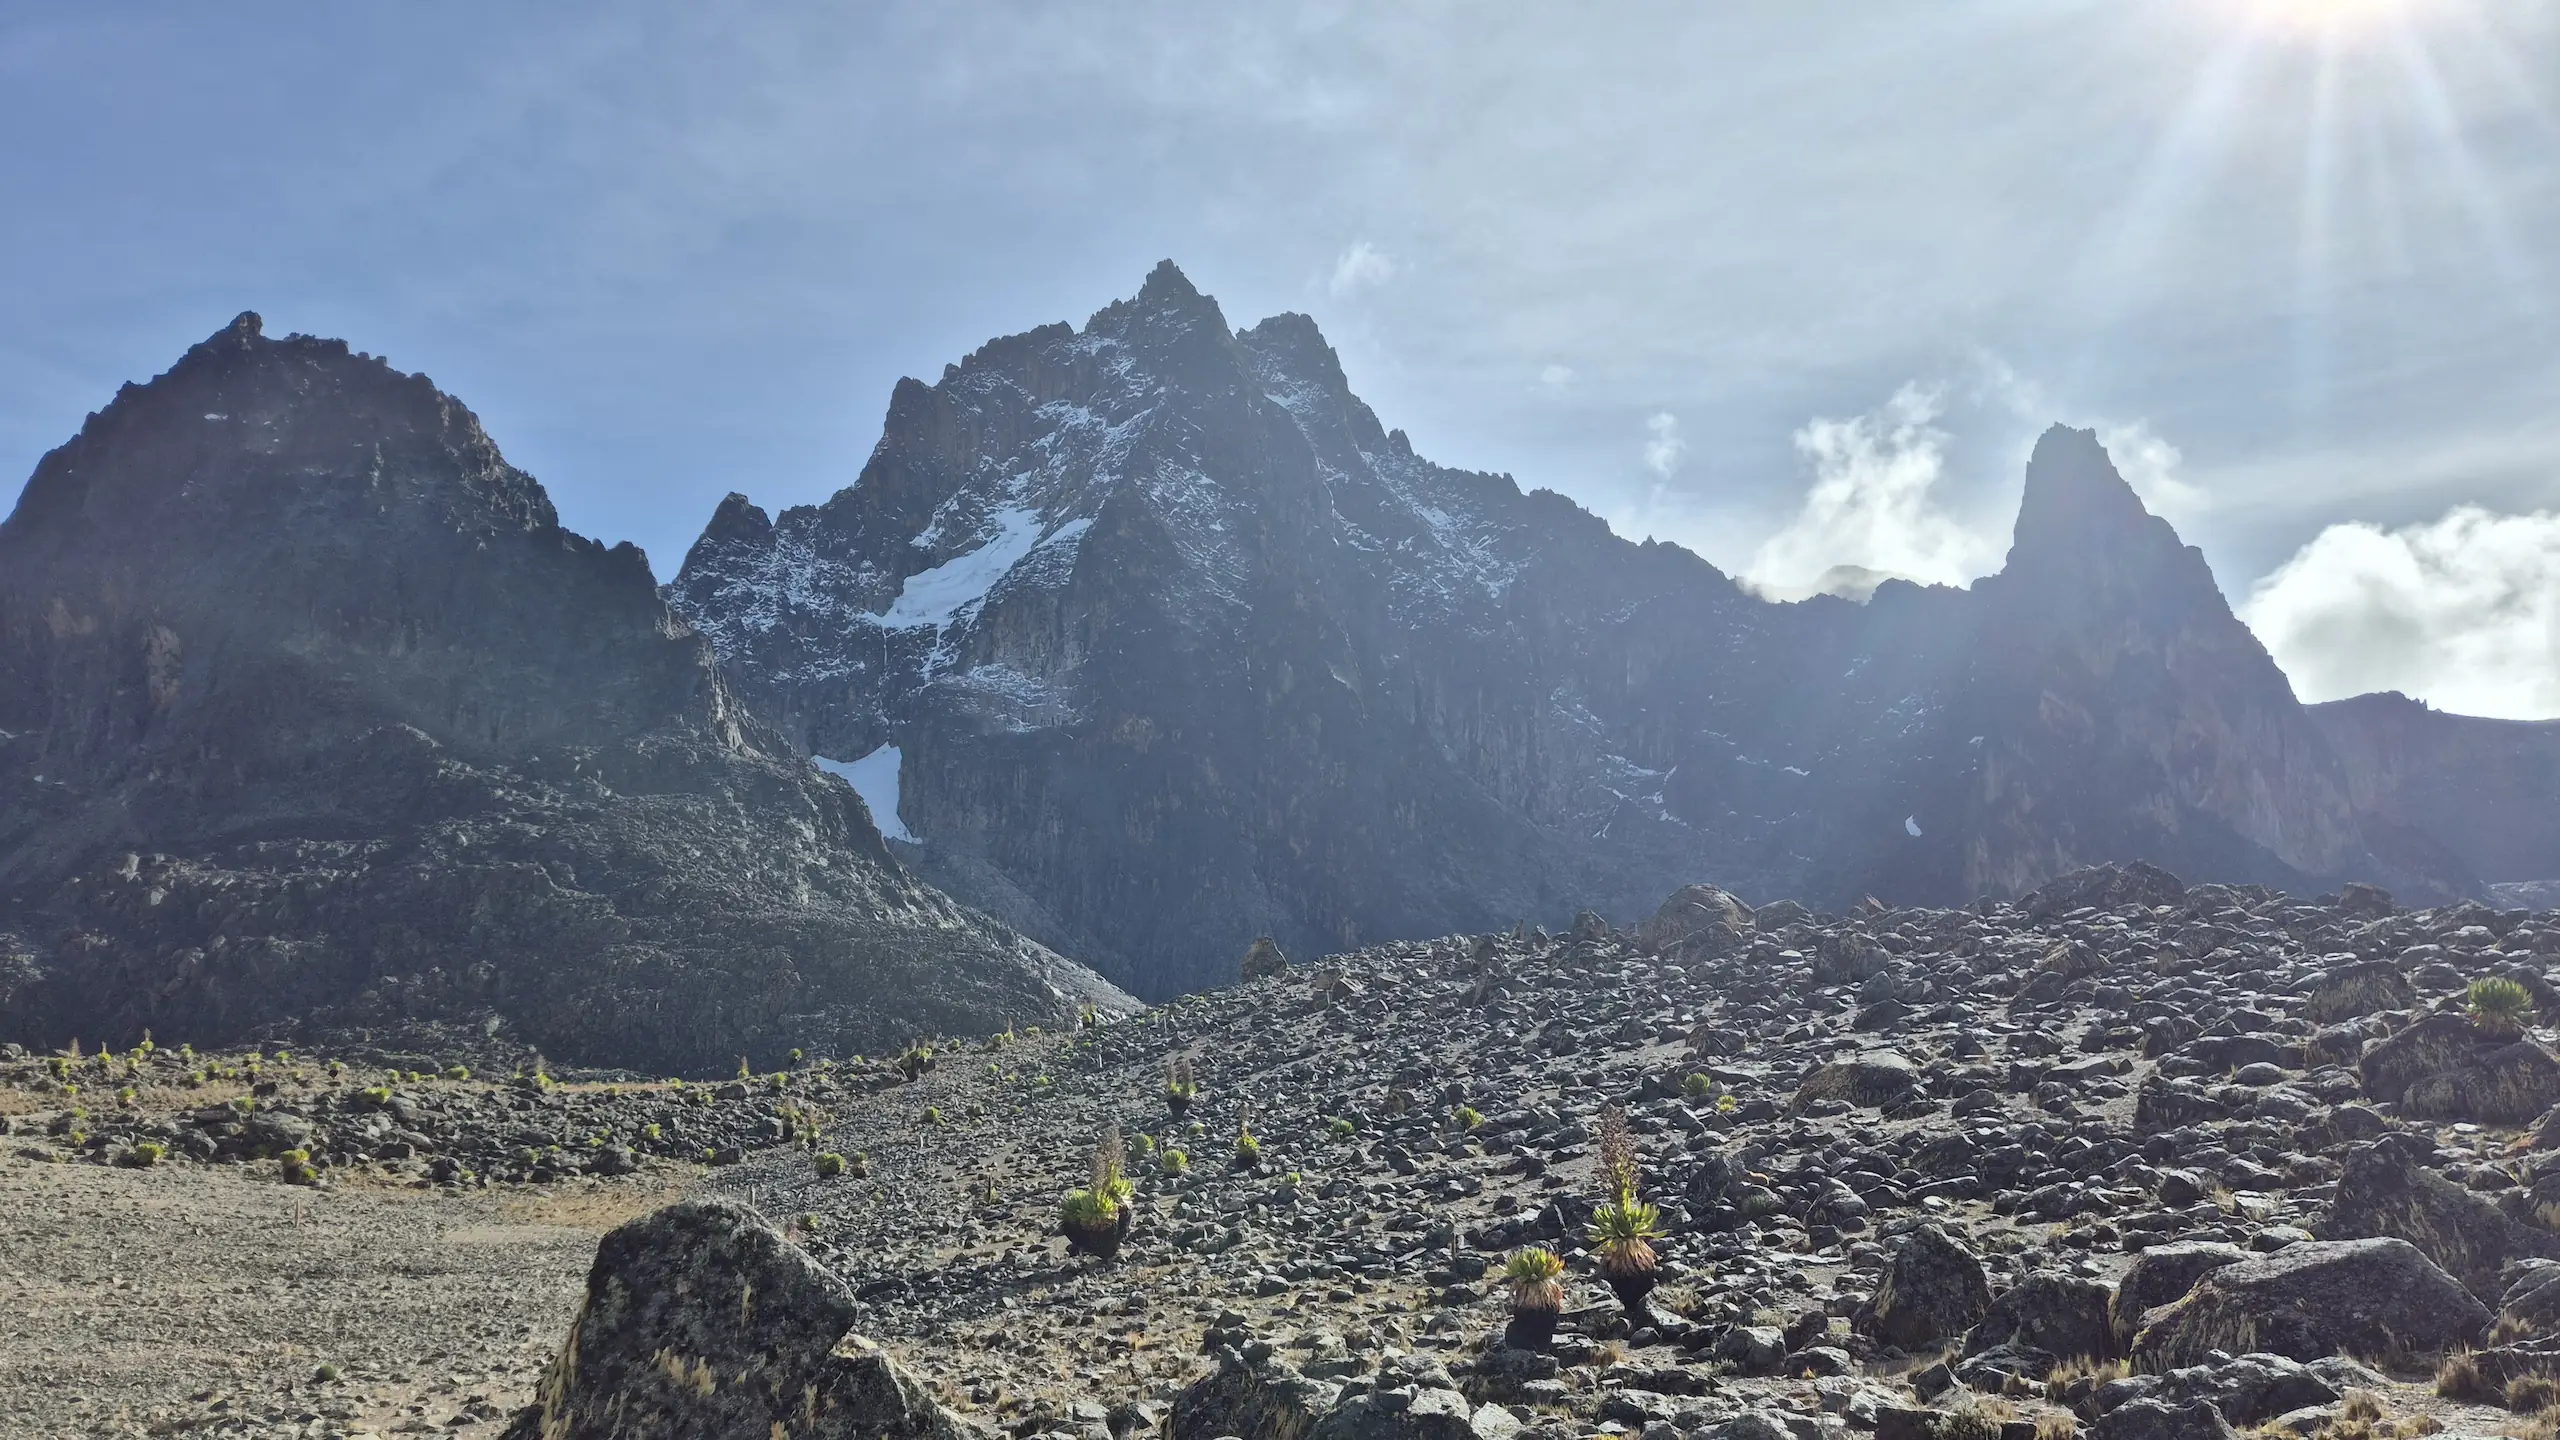
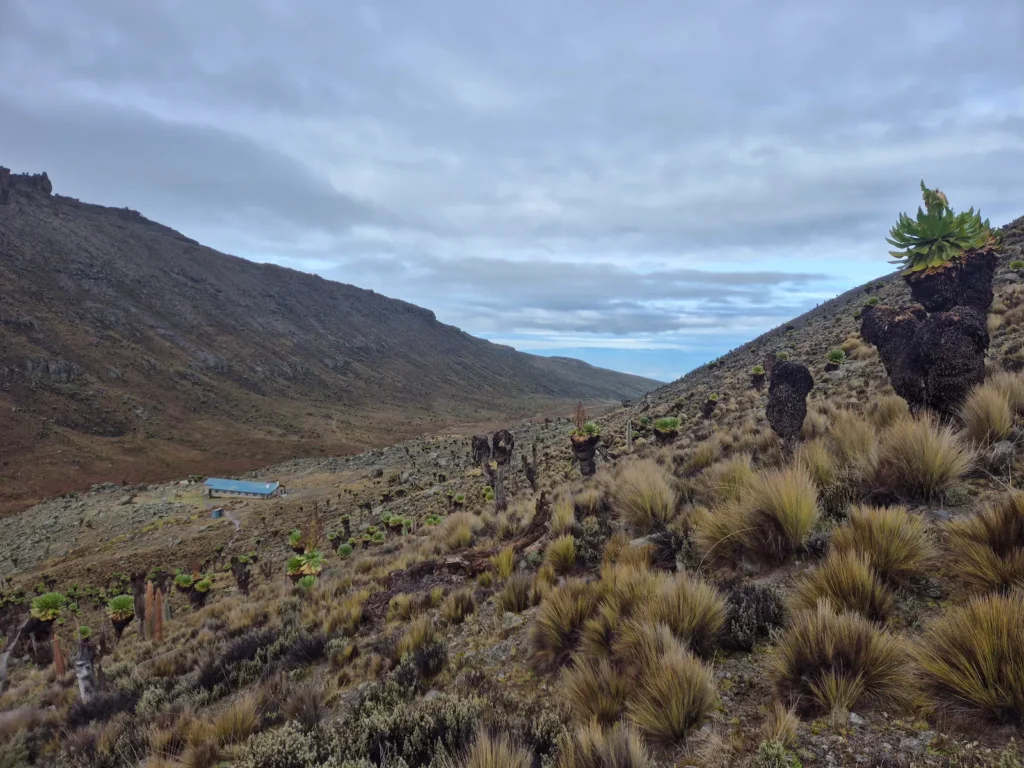
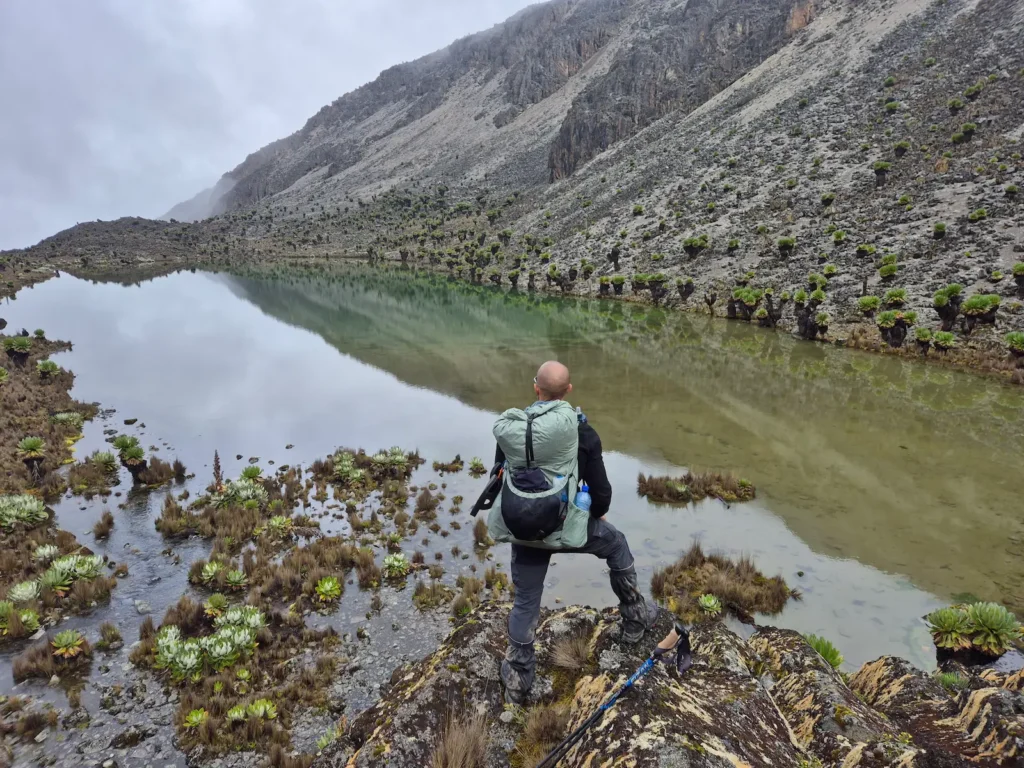
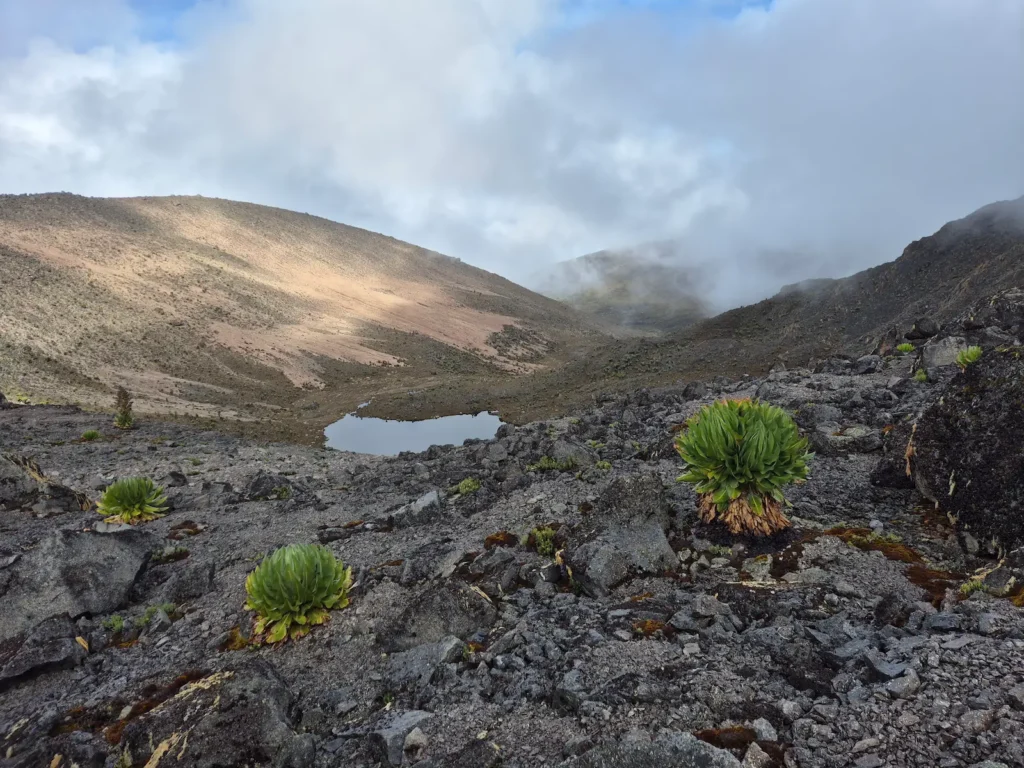
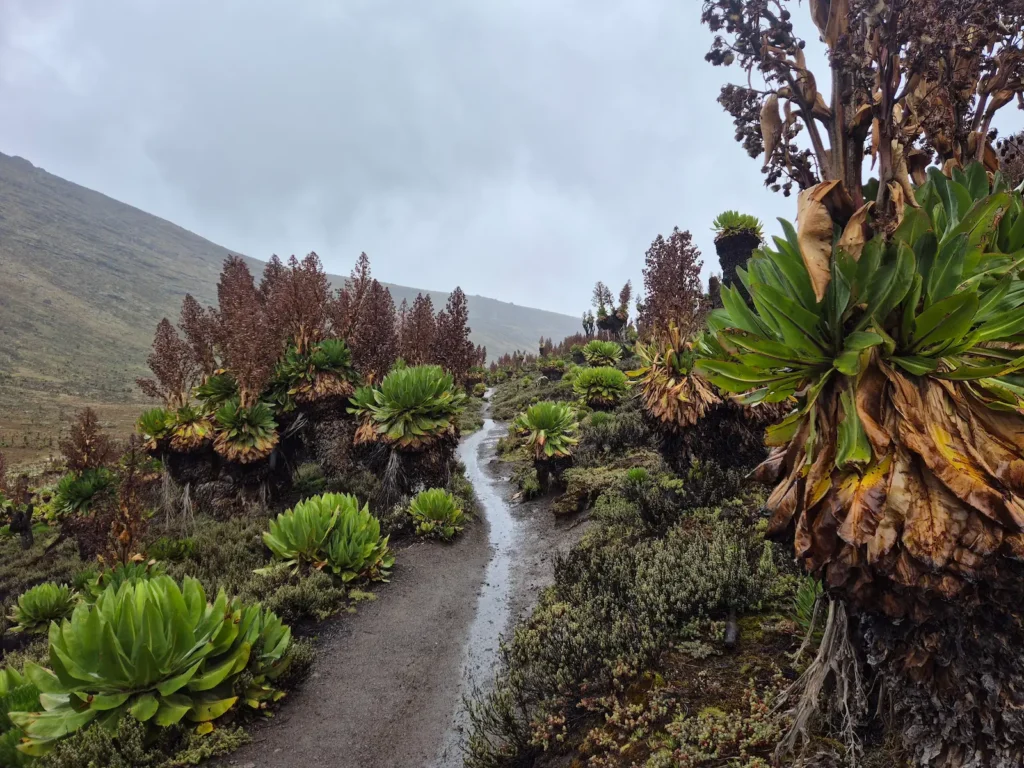
Mount Kenya is highly varied. Even at high altitude, the landscape remains green and textured, with towering groundsel, giant lobelia, tarns, streams, waterfalls, scree slopes, and rocky central peaks. There’s far more to the mountain than summiting Point Lenana.
I chose to start at Chogoria Gate on the eastern side of the mountain and finish at Sirimon Gate on the north, taking the long way around the central peaks in a clockwise direction. Three ideas shaped the route.
1. The summit circular
Four main summit base camps – Austrian Hut, Mackinder’s Camp, Mintos, and Shipton’s Camp – sit around the central peaks. They are linked by a roughly 12 km loop, known as the summit circular. My route covered around 10 km of the loop, passing through all four camps and offering a nearly 360-degree view of the summit massif.
2. Lakes and tarns
Mount Kenya has dozens of tarns, and this traverse passed several of the most distinctive ones.
3. Traversing the mountain
I prefer not to backtrack on a hike. Entering at one gate and exiting at another allowed me to move through different valleys – Gorges in the east, Teleki in the west, and Mackinder in the north – and experience more of the mountain over four days.
Why I hiked without porters
While a licensed guide is mandatory for safety and navigation, porters are optional. Most hikers use them, as they provide valuable support and make summit attempts more manageable.
Trekking at altitude becomes significantly harder with additinoal weight. Porters typically carry up to 20 kg, including tents, sleeping bags, clothes, and food. They set up camp, pack up in the morning, and cook meals.
I chose not to use porters because I was preparing for long-distance, self-supported hikes. This traverse was an opportunity to test my full setup in real conditions – shelter, sleep system, cooking system, and meals. I picked a rainy few days on the mountain, which turned out to be the ideal test.
My four-day traverse across Mount Kenya
Here’s a brief account of how each day unfolded.
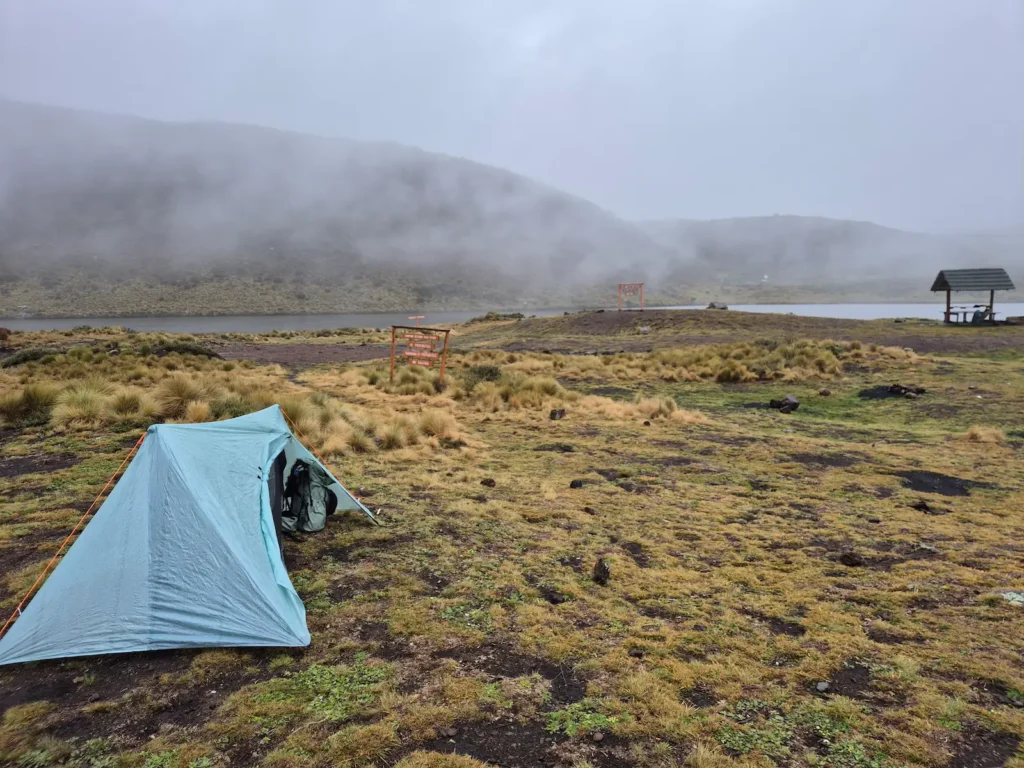
Day 1: Chogoria Gate to Lake Ellis
Hike: 7.7 km, 2 hr 7 min, 537 m gain, 85 m loss, 2950–3470 m
Difficulty: Moderate to Difficult
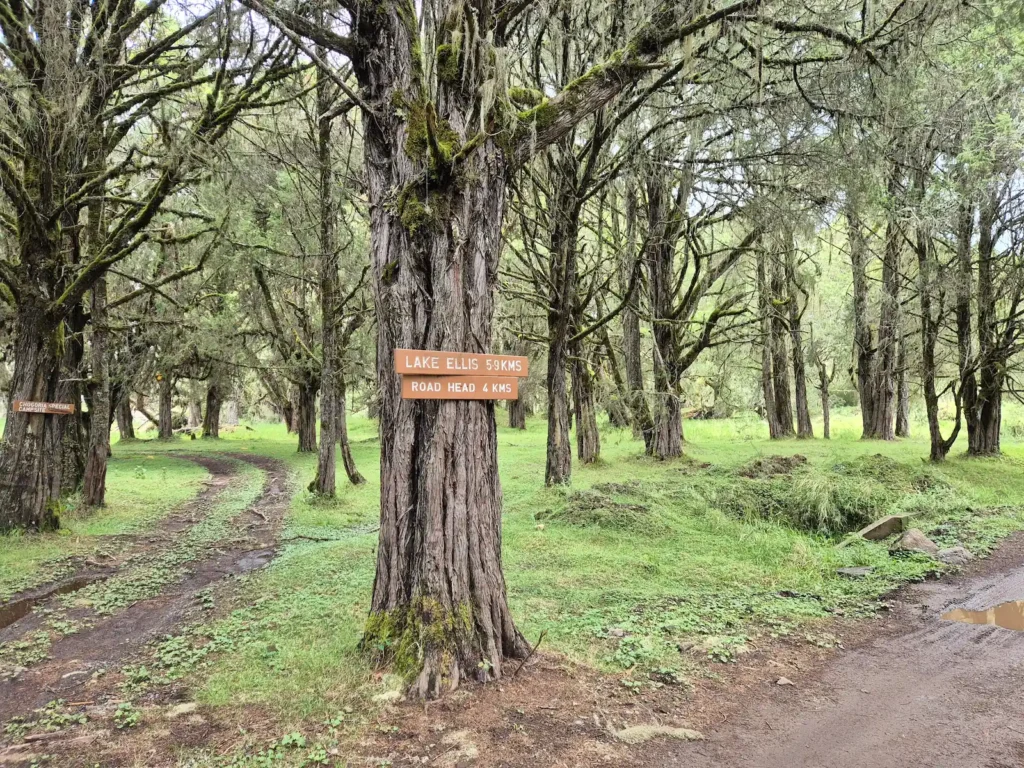
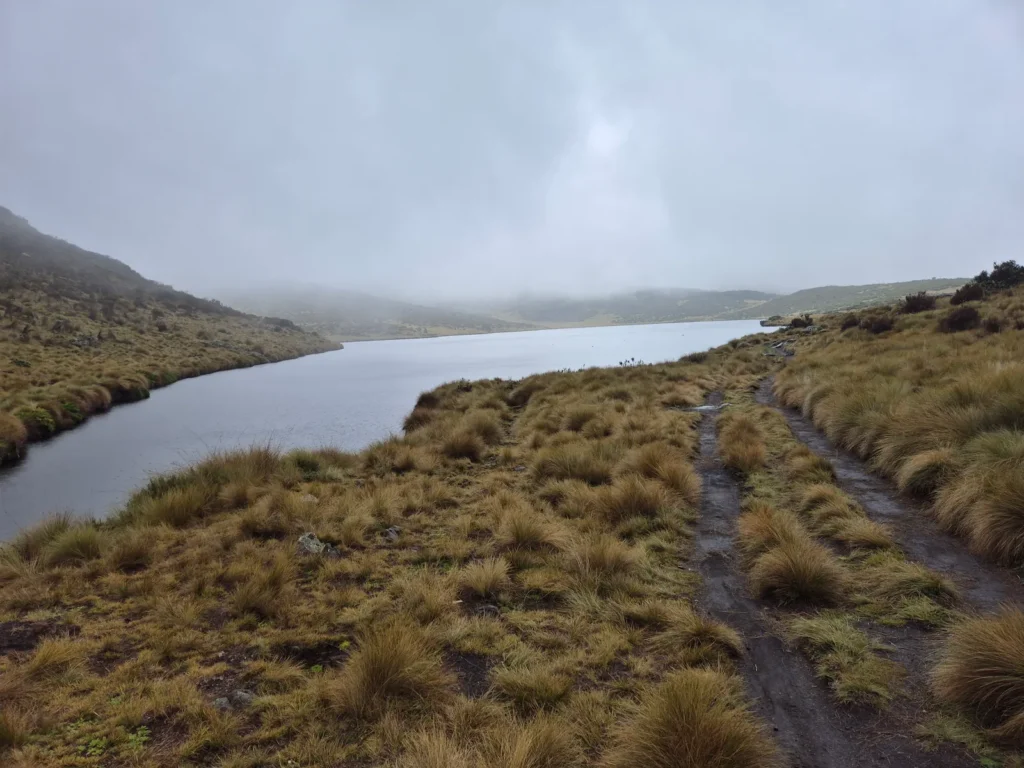
I began the traverse at Chogoria Gate shortly after noon and followed a jeep track for a little over two hours before reaching Lake Ellis (3470 m), my first camp. It was the shortest day of the trek, and intentionally so. The goal wasn’t mileage; it was acclimatisation.
Chogoria Gate, at nearly 3000 m, is already high enough to feel the altitude. I hadn’t done any acclimatisation hikes beforehand, and the last time I’d been above 2800 m was more than four months earlier – not ideal. Starting gently made sense.
Heavy rain began as soon as I arrived at camp and continued through most of the night. The cold, wet conditions were going to test both my equipment and my temperament over the next few days.
Day 2: Lake Ellis to Mackinder’s Camp
Hike: 16.6 km, 9 hr 57 min, 1570 m gain, 872 m loss, 3440–4790 m
Difficulty: Very strenuous
This was the toughest day. After a short first day, I needed to cover long distances on Days 2 and 3 to complete the 50+ km traverse in four days.
The morning began well. I joined a hiking couple – the only other hikers at the campsite – for breakfast. When I mentioned that I was heading to Mackinder’s, their guide overheard and said, “Impossible. I’ve been a guide on this mountain for over 20 years; you can’t get there in one day.” This wasn’t exactly the encouragement I was hoping for.
Almost 1600 m of elevation gain at an average altitude of 4300 m – where oxygen concentration is less than 60% of sea level – turns a difficult hike into a very strenuous one. To add to the challenge, my backpack weighed roughly 12 kg, as it was only the second day and I still had most of my food. I was also carrying more water than usual because there would be limited streams later in the day.
I set off shortly after 8 AM and reached Mintos (4280 m), the summit base camp on the Chogoria route, four hours later. After a slow one‑hour lunch, I continued on a steep ascent to Austrian Hut (4790 m). As if the climb and thin air weren’t enough, the weather turned and it began raining heavily.
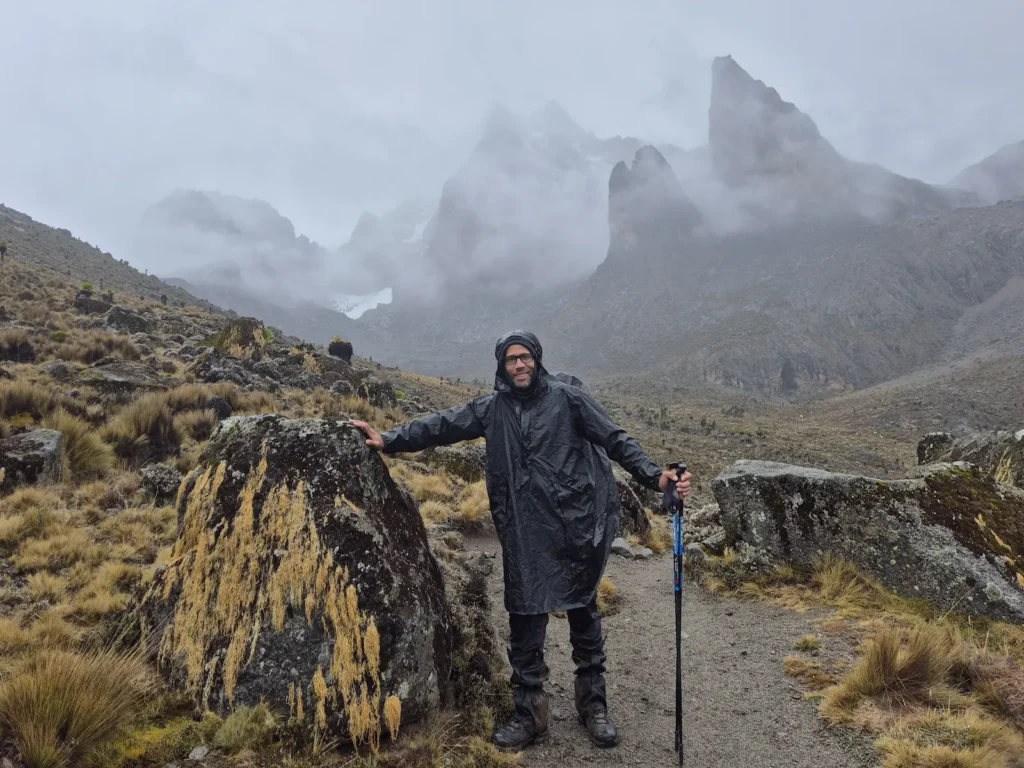
I reached Mackinder’s (4200 m) shortly after 6 PM. My guide had judged the pace well: four hours to Mintos, five hours to Mackinder’s. His final words as we reached camp were, “Today was fun.” I thought: Yes, now it’s fun.
It turns out that I could get there in one day – but it was a hard slog.
Day 3: Mackinder’s Camp to Old Moses
Hike: 19.5 km, 9 hr 42 min, 766 m gain, 1514 m loss, 3390–4600 m
Difficulty: Strenuous
Sleeping at altitude is never easy, and I had the worst night of the traverse – not ideal after the previous day’s effort and with another long day ahead.
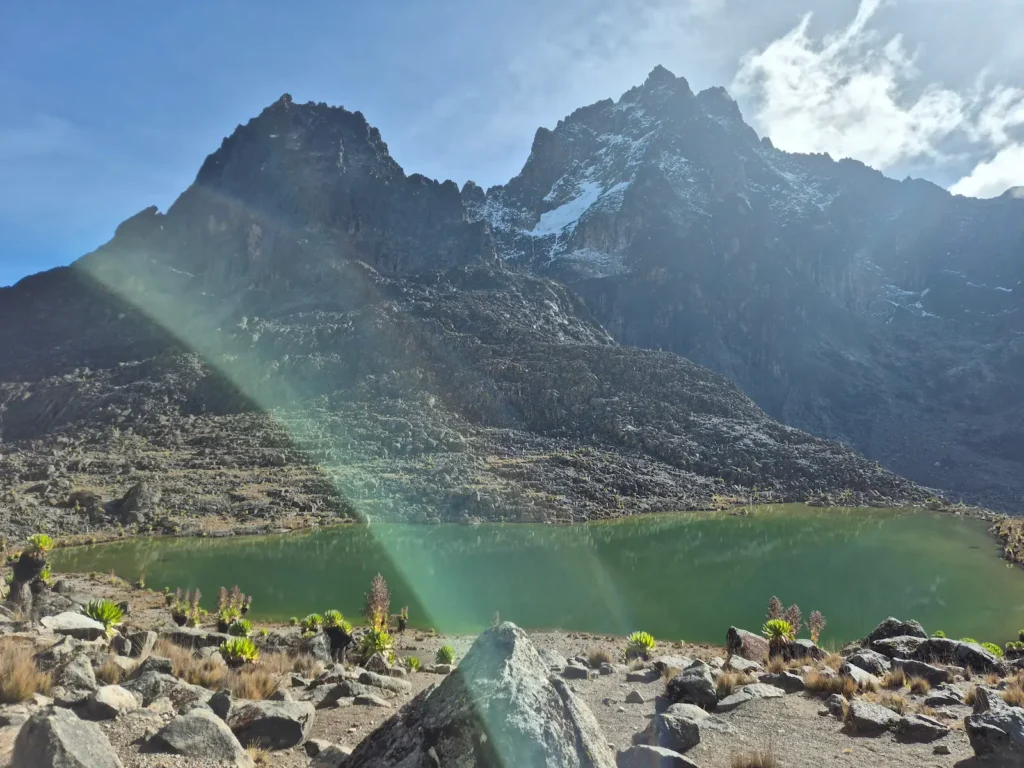
The first half of the day was defined by tarns. So far, I had seen Lake Ellis on Day 1, and on Day 2, Hall Tarns near Mintos and Lewis Tarn on the descent after Austrian Hut, with the Lewis Glacier behind it. Lake Michaelson, often visible from Gorges Valley, was hidden in heavy fog. This was a pity, as it is one of the most striking tarns on Mount Kenya.
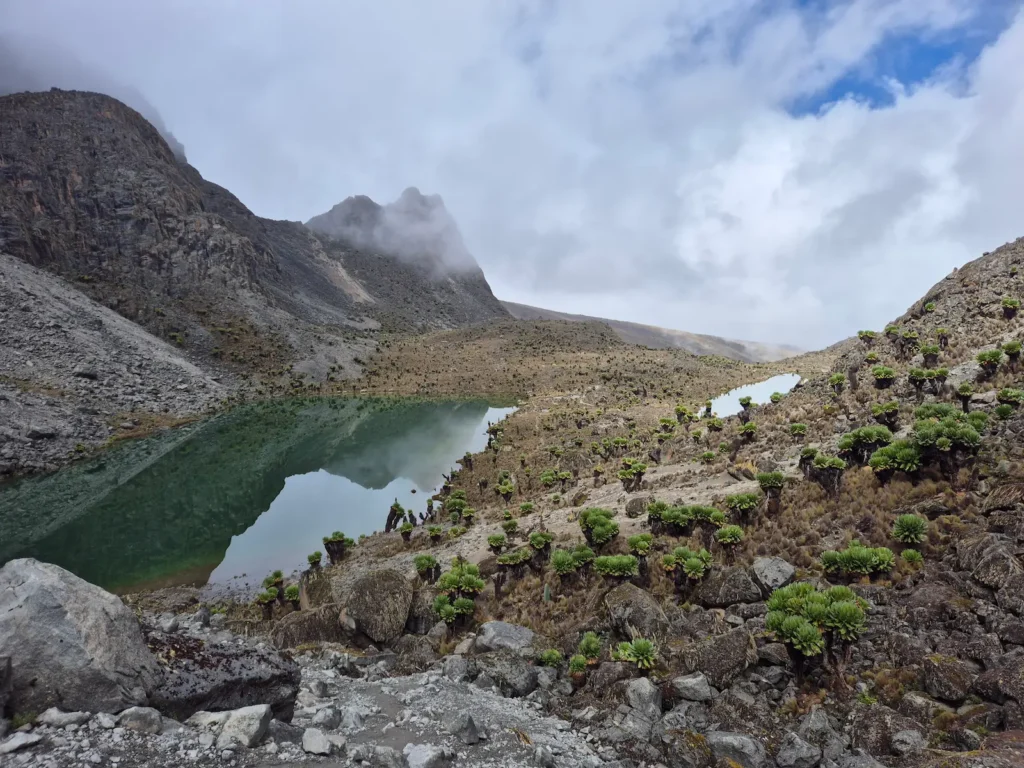
I left camp at 7:30 AM under clear skies, which was a welcome change. After a steep climb out of Teleki Valley, I reached the first two tarns of the day: Two Tarns (4490 m) and Nanyuki Tarn (4480 m). A short distance ahead, I had a view down to Emerald Tarn (4340 m).
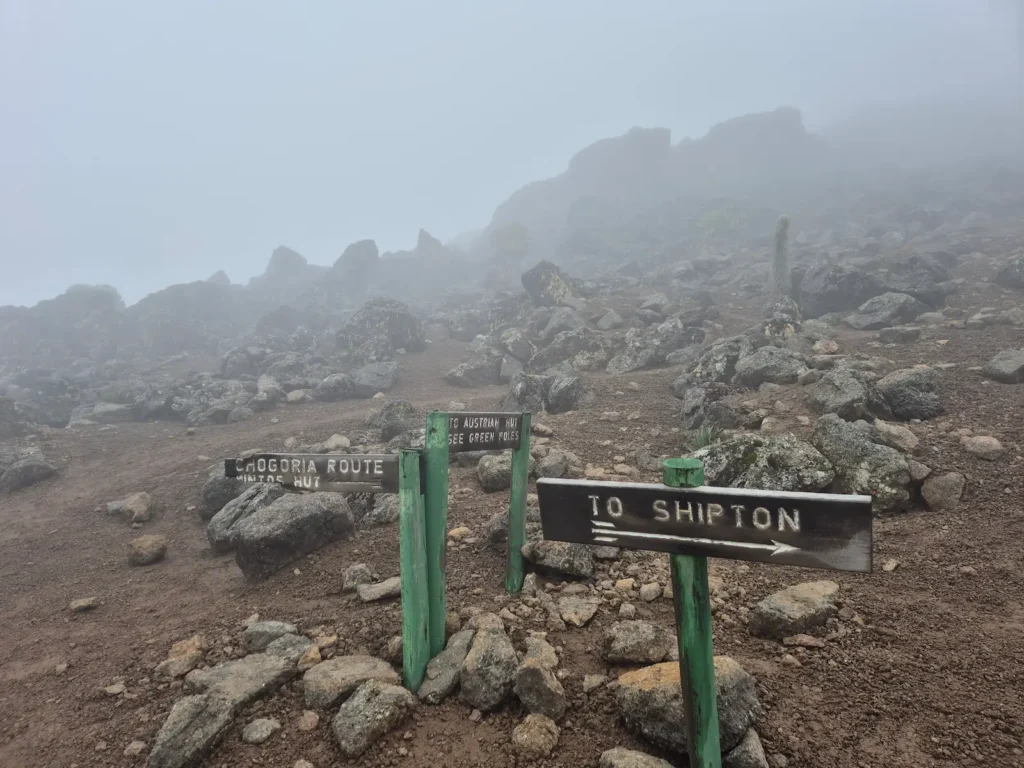
I continued for another 1.5 km, reaching Oblong Tarn and then Hausberg Tarn (4360 m) – my seventh and eighth tarns of the traverse. From there, I climbed back to 4600 m over Hausberg Col, before descending to Shipton’s (4260 m), the base camp on the Sirimon route.
After lunch at Shipton’s, I continued along the Mackinder Valley and reached Old Moses (3390 m) at 5:20 PM.
Day 4: Old Moses to Sirimon Gate
Hike: 8.9 km, 1 hr 35 min, 0 m gain, 740 m loss, 2650–3390 m
Difficulty: Easy
The two long days were behind me. I had covered 36 km from Lake Ellis to Old Moses, taking the long way around the mountain and passing the four main base camps. The final stretch was downhill on an uneventful concrete and tarmac service road, so I picked up the pace.
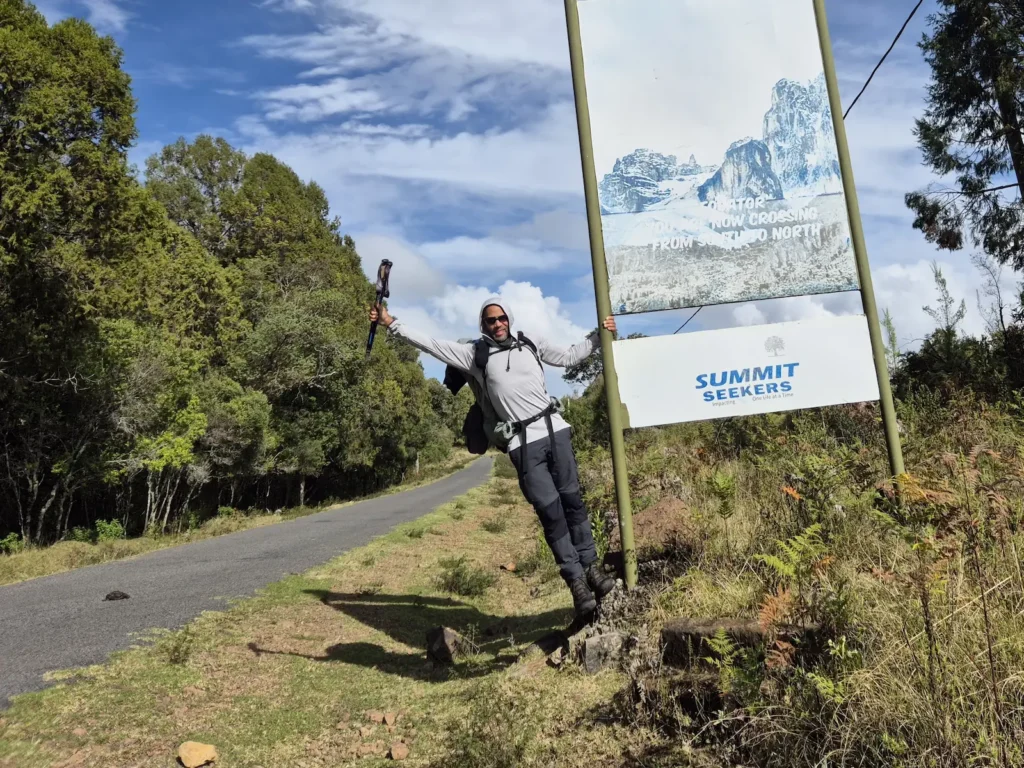
A pleasant surprise was crossing the equator on the descent – my first time doing so while hiking.
After four days, 53 km, 2870 m of elevation gain, and less than 24 hours on trail, I reached Sirimon Gate.
What made this traverse challenging
Mount Kenya is a demanding mountain to hike, even with full support. This traverse was strenuous for several reasons, largely due to altitude and long days.
Altitude
Most of the route was above 3500 m, with long stretches above 4000 m and a high point of almost 4800 m at Austrian Hut. At these elevations, everything feels harder – climbing, sleeping, and recovering for the next day.
Long days
Completing the traverse in four days required two demanding days in the middle, with long distances and significant elevation gains at high altitude.
Terrain
The route included rocky paths, steep ascents, boggy sections, and high-altitude scree. The terrain changed constantly and was rarely straightforward. Many ascents had loose gravel, creating the sense of moving two steps forward only to slide one step back – at a time when the body was already working hard with limited oxygen.
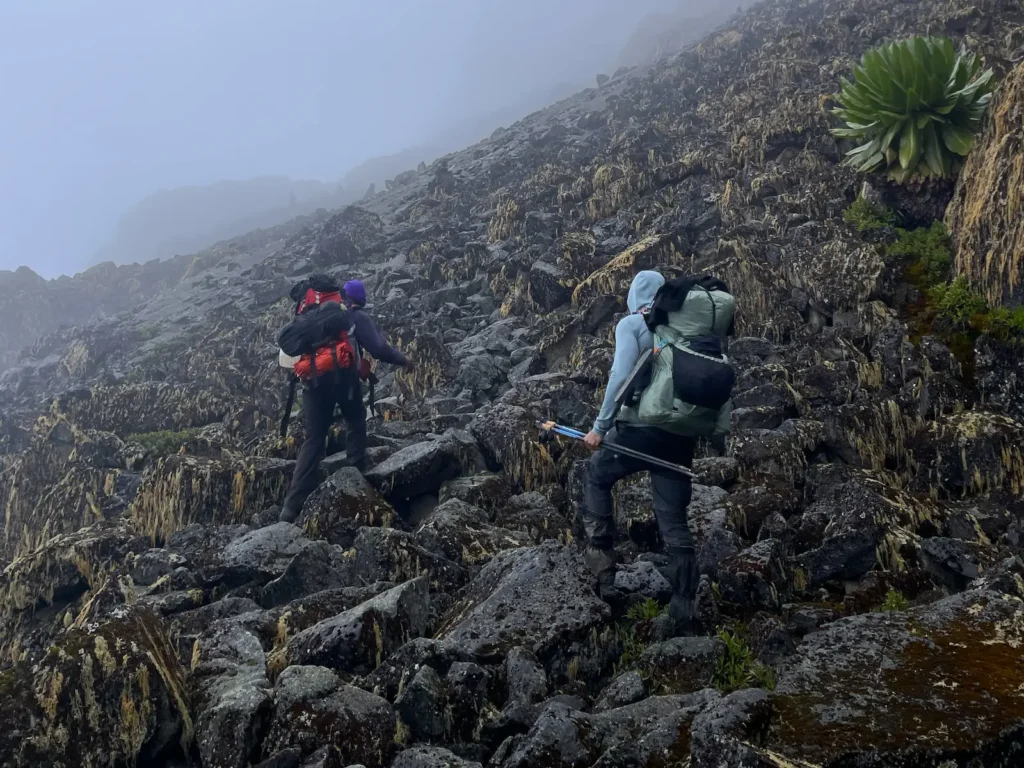
Weather
Mount Kenya’s weather changes quickly. Wet gear, cold temperatures, and reduced visibility all added to the difficulty.
An alternative route
If you have an extra day, a less strenuous alternative is to split Day 2 into two shorter segments. Another option is to end the traverse at Old Moses, skipping the final downhill stretch to Sirimon Gate, as this section is entirely on a hard service road.
A five‑day version of the route could look like this:
Day 1: Chogoria Gate to Lake Ellis – 7.7 km, 537 m gain, 85 m loss
Day 2: Lake Ellis to Mintos – 8.1 km, 937 m gain, 111 m loss
Day 3: Mintos to Mackinder’s – 8.4 km, 633 m gain, 761 m loss
Day 4: Mackinder’s to Shipton’s – 5.4 km, 672 m gain, 533 m loss
Day 5: Shipton’s to Old Moses – 14.1 km, 94 m gain, 981 m loss
Day 4 would be relatively short, allowing more time to enjoy the tarns. The overall traverse would be reduced to roughly 44 km, with an unchanged total elevation gain of 2870 m.
My hiking gear
Traversing more than 50 km across a mountain – from lows of 2600 m to highs of 4800 m – requires gear that can handle sun, rain, wind, and cold. My total base weight (backpack excluding food and water) was roughly 7.6 kg.
Here’s everything I carried, grouped into four categories (food and water are covered in the next section).
Shelter and sleep system:
- Durston X-Mid Pro 1 tent
- Sea to Summit Ether Light XR sleeping pad
- Sea to Summit Aeros Premium pillow
- El Coyote 20F sleeping quilt
Hiking clothing and equipment:
- Smartwool merino beanie
- Sunglasses
- Merino neck buff
- Mier long-sleeve sun hoodie
- Quechua full-zip fleece
- Kiprun running gloves
- Icebreaker merino boxer underwear ×2
- Forclaz zip-off hiking pants
- Toe sock liners ×2
- Merino socks ×2
- Salomon Quest Element GTX hiking boots
- Leg gaiters
- Rain poncho
- 500 mL soft flask
- 1 L plastic water bottle
- Sawyer Squeeze filter with 2 L CNOC water bladder
- Fizan Compact 3 trekking poles
Camp clothing and evening gear:
- Balaclava
- Thermal base layer top
- Mier long-sleeve sun hoodie
- Uniqulo ultralight down jacket
- Icebreaker merino boxer underwear
- Smartwool merino leggings
- Sweatpants
- Alpaca socks
- Flip-flops
- Electronics: mobile phone, 20 Ah power bank, headlamp, headphones
- Toiletries
- First aid kit
- Repair kit
Cooking system:
- BRS 3000T stove
- Ocelot mini windscreen (windshield for the stove)
- Toaks titanium 750 mL pot with lid
- Toaks titanium long-handle spoon
- Sea to Summit collapsible cup
- 240 g Coleman gas canister
I carried everything in a Durston Kakwa 55 backpack (size small, 53 L internal volume) and used a Nylofume pack liner.
My meals on trail
I carried food for three breakfasts, four lunches, three dinners, and some snacks – around 3 kg in total – stored in zip-lock bags and packed in an 8 L dry bag.
I boiled water for breakfast and dinner, while lunch was a cold meal. Water boils at a lower temperature at altitude, but because it starts much colder, it takes longer to heat. I estimated that I used around 14 g of gas per day to prepare two meals.
These were my daily meals:
Breakfast: instant coffee, nutty granola mix, raisins, chia seeds, whole powdered milk, whey protein, tortilla wrap with peanut butter.
Lunch and snacks: tortilla wrap with peanut butter (prepared during breakfast), wheat crackers, dates, almonds.
Dinner: pasta or couscous, beef droëwors (South African dried sausage) or tuna, pumpkin and sunflower seeds, mature cheddar cheese.
This worked out to roughly 820 g of food per day, providing about 3400 kcal, 148 g protein, 367 g carbohydrates, and 155 g fat.
I carried between 0.5 L and 2 L of water at any given time, depending on availability. If there were plenty of streams ahead, I would fill only the 500 mL soft flask and top up as needed.
Final thoughts on the traverse
Mount Kenya is a mountain of remarkable variety, from deep valleys and high ridges to open moorlands, clear alpine tarns, and rocky central spires. Traversing from Chogoria Gate to Sirimon Gate, circling the central peaks, and passing through the four summit base camps offers a complete perspective of the mountain.
The route was demanding, particularly the long days and steep climbs at altitude. If you enjoy multi‑day hikes and want to experience Mount Kenya beyond a summit attempt, this traverse provides the perfect opportunity to see the mountain from all sides.